Usage Scenarios
From Gcube Wiki
Revision as of 15:43, 19 September 2011 by Gerasimos.farantatos (Talk | contribs) (→Usage Scenarios)
Contents
Usage Scenarios
Login to a portal instance and select a VRE
This scenario is describing the required steps for loging in to a portal and selecting one of the available VREs.
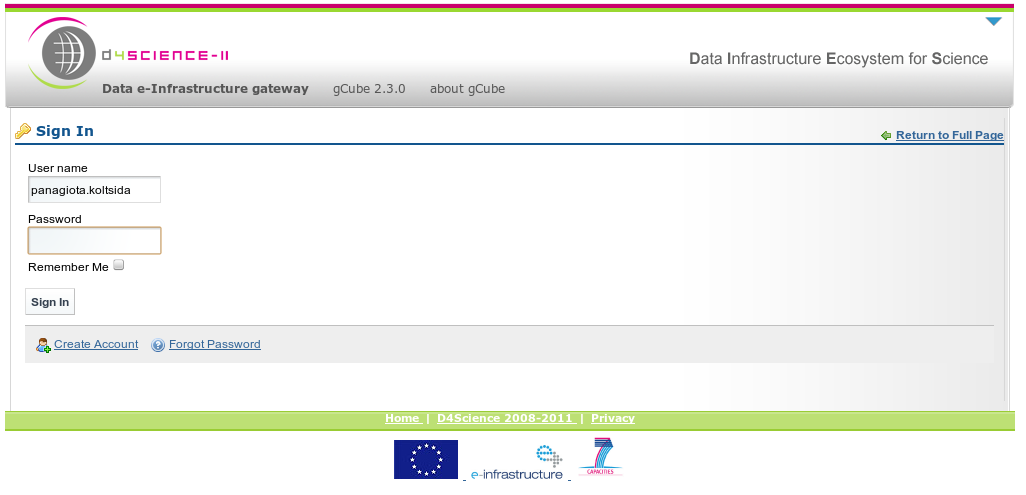
- Login to a portal instance. (https://portal.d4science.research-infrastructures.eu/web/guest)
- Your username and password are required so that you can log in
- After the login select the preferred VRE to load and click "enter"
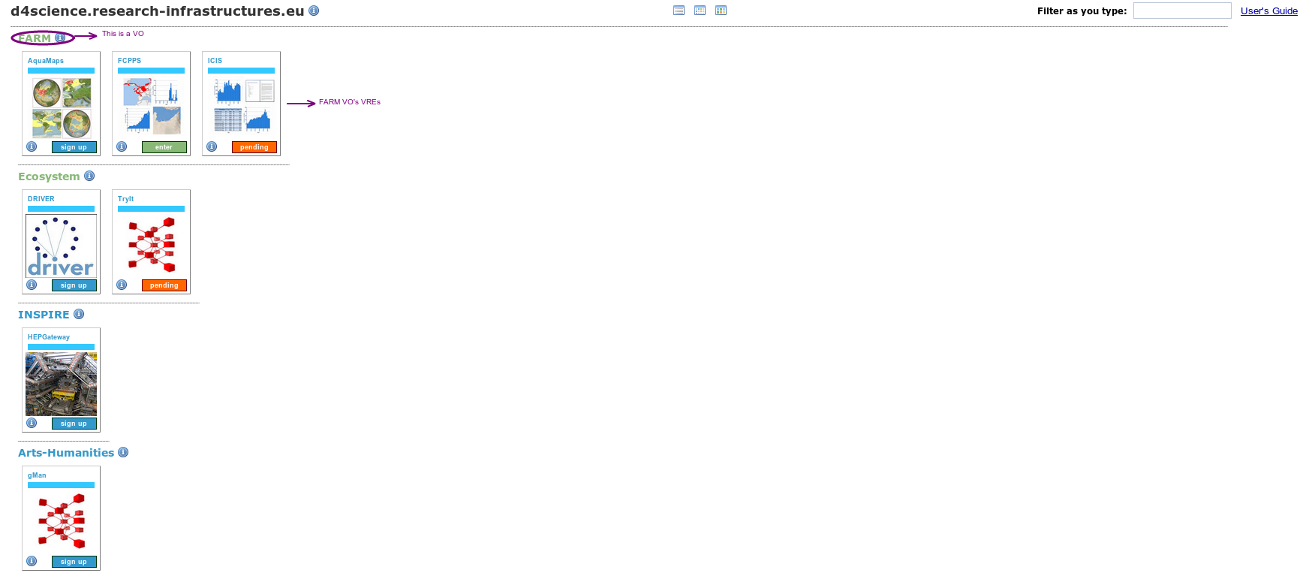
- FCPPS VRE is selected and you are now logged in to this VRE
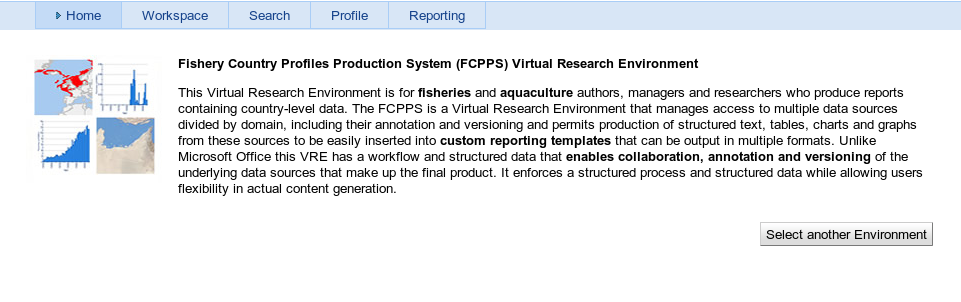
- All the available portlets for the selected VRE are now loaded. They are organized into tabs and sub-tabs


Perform a search and view the metadata of a record
This scenario will describe all the required steps that a user has to do in order to perform a kind of search, retrieve the results and then view the metadata of a result record.
- Follow the "Login_to_a_portal_instance_and_select_a_VRE" instructions in order to login to a VRE
- All the available portlets for this VRE are now loaded. Click on the "Search" tab to view the search portlets.
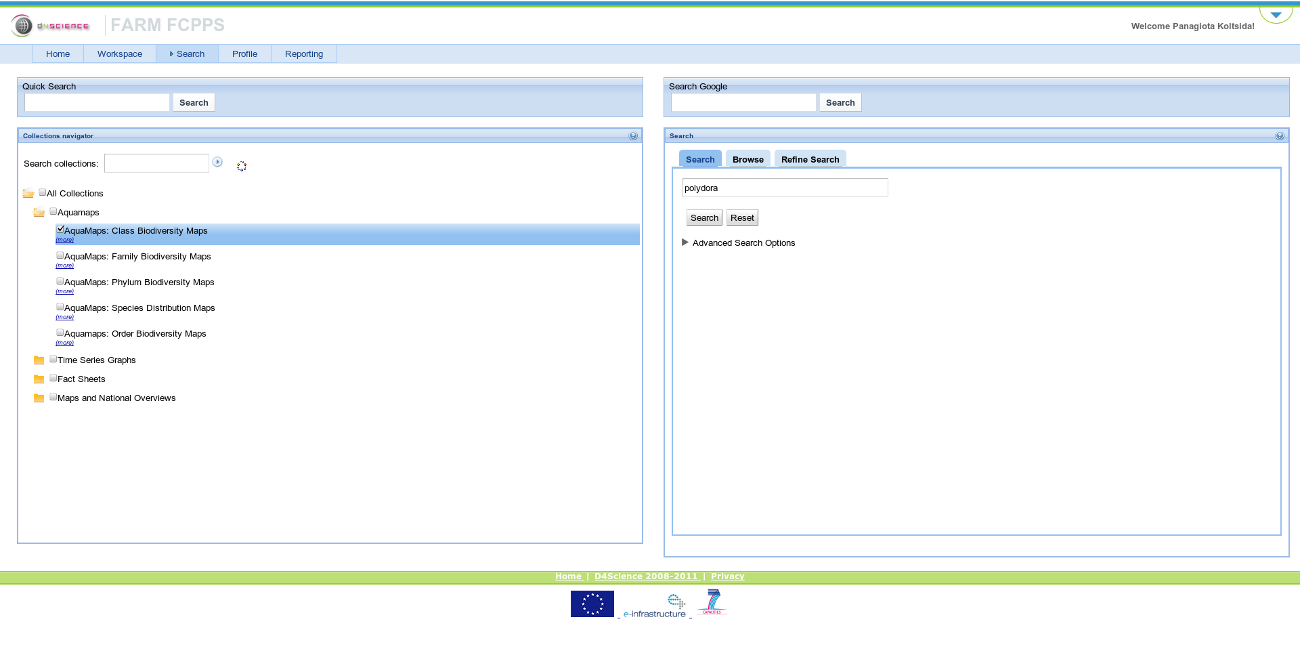
- Select the collections you want to search through
- Choose the type of search you want to perform
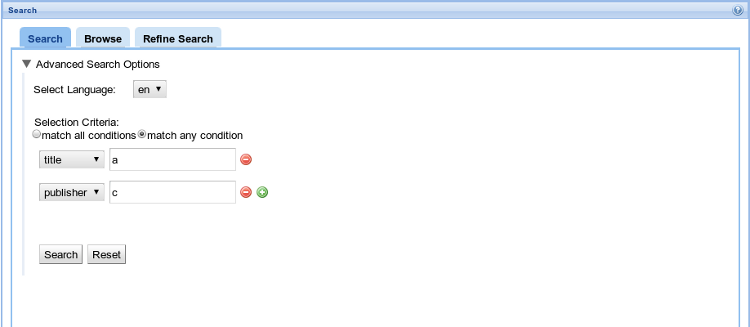
- Suppose that you choose the "Advanced" search options. Add as many conditions as you like and type the search term for each condition.
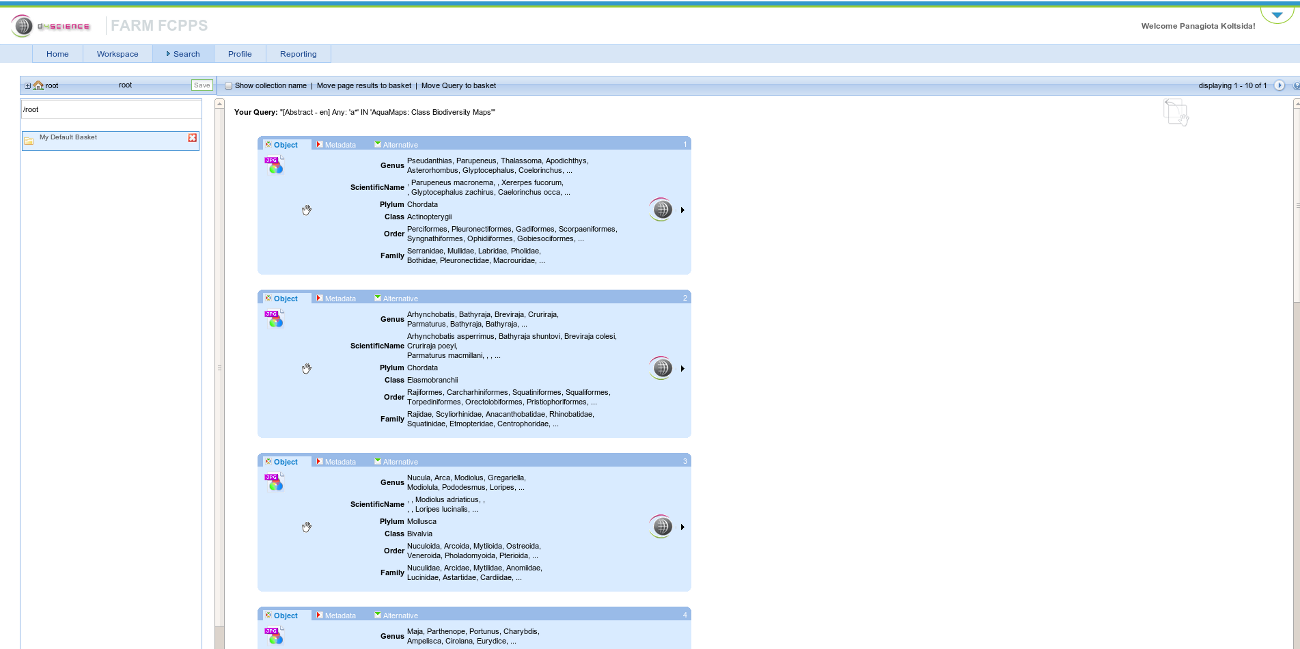
- After clicking the "Search" button, the query will be submitted, the buttons will be disabled and you will be automatically redirected to "Results" portlet
- The rendering of the results will start and you can either perform some actions to the records or you can click the next button so that you will get the next results
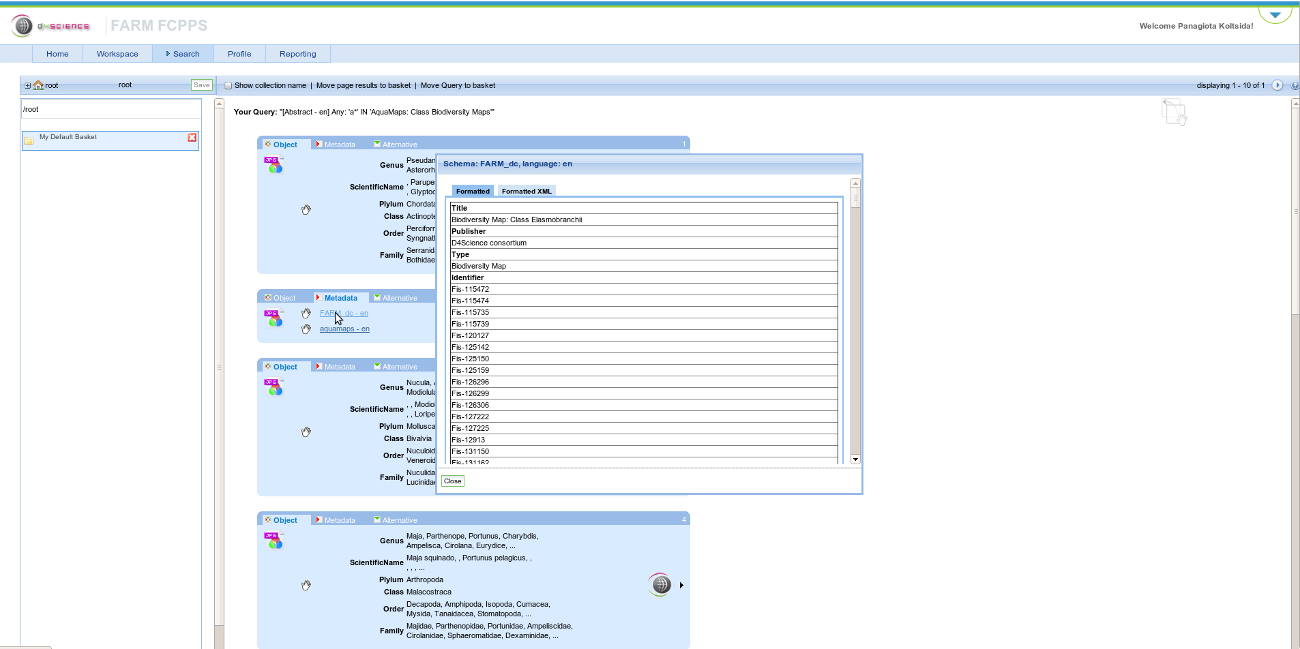
- Choose a record, click on the "Metadata" tab of a record and click on any of the available metadata to view them.


Annotating Information Objects
- In order to annotate an information object, first a search has to be performed as described above in "Perform a search..." section.
- An object can be annotated by choosing a result record, clicking on the "Actions" button and selecting "Manage Annotations"
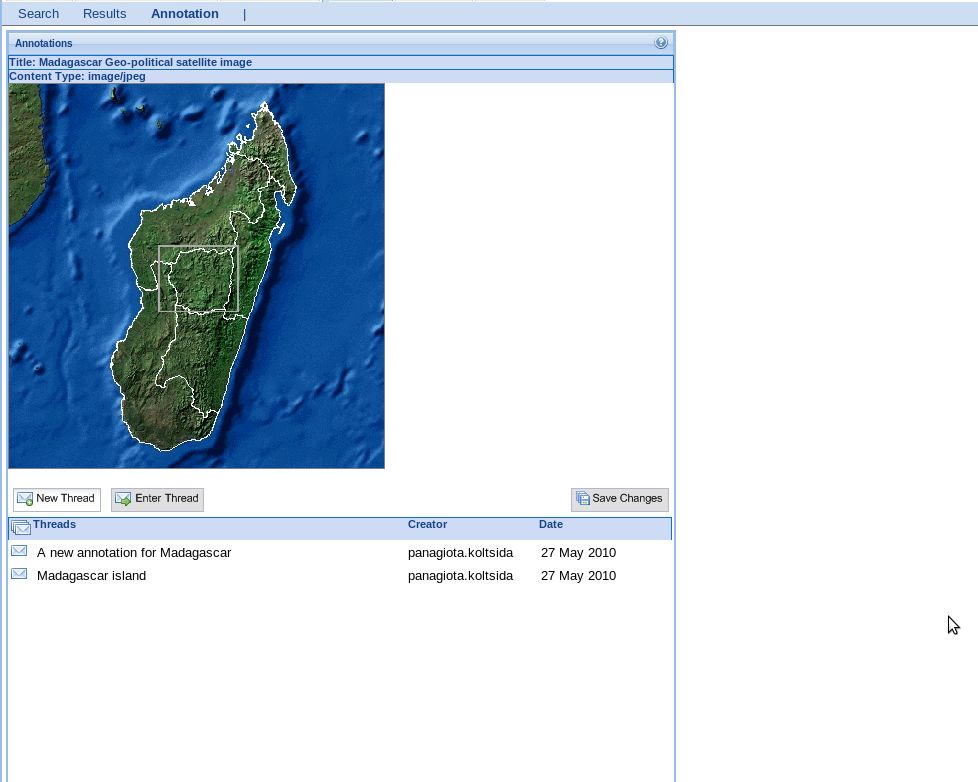
- Afterwords, the annotations of the object are displayed and a variety of options in order to manage them are available.
 Viewing Annotations
 - Managing generic annotations
- Adding an annotation: In order to create an annotation you can either create a new Thread by clicking on the "New Thread" button, which will create a new Annotation as the first of the thread, or you can enter an existing thread by clicking on the "Enter thread" button (entering a thread can also be done by double clicking on the thread) and then click on the "Add" button in order to create a new annotation. Then there are two choices create a "Text Annotation" or create an "Association" using an object from the basket or by uploading a file from the local disk.
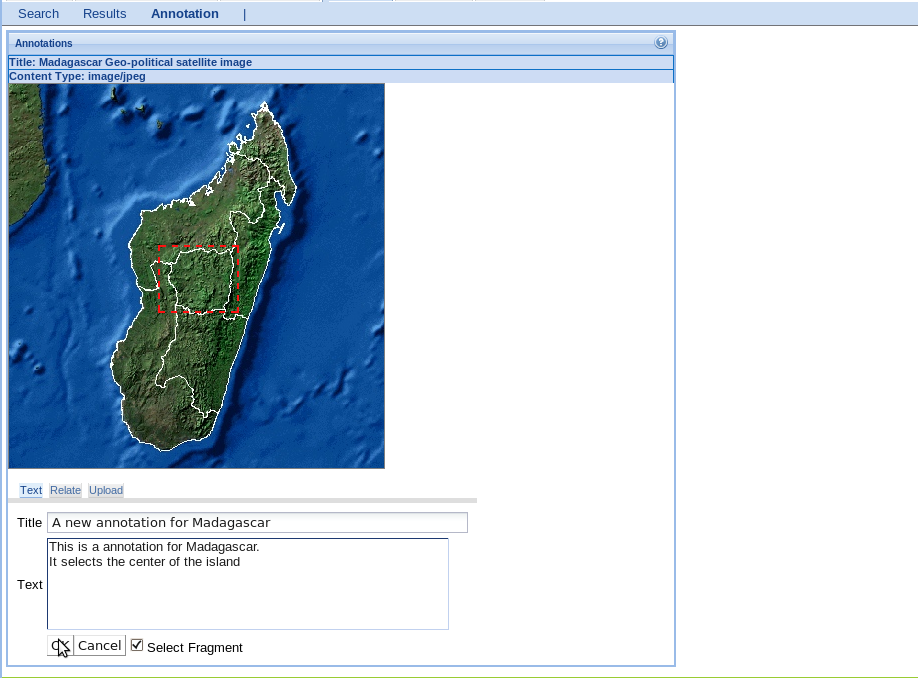 Adding Annotation 1
- For Text Annotations the title and the text of the annotation have to be filled in and then the "OK" must be clicked.
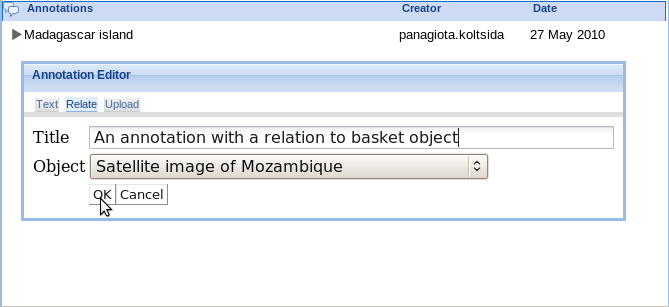
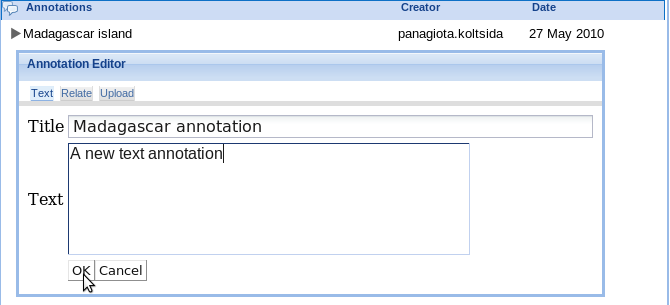 Adding Annotation 2
 - In order to create an Association, the title field have to be filled in and the associated object must be chosen by the objects existing in basket.
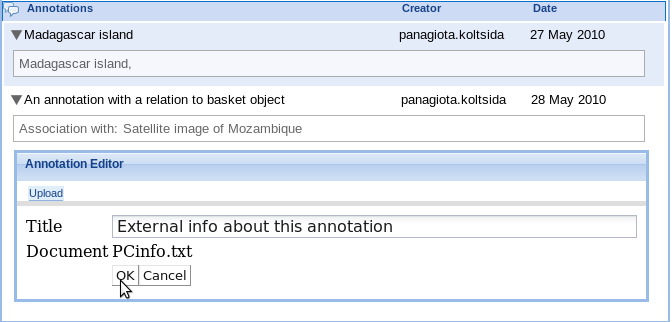
 Adding Association
 - In order to upload a file from the local disc and annotate this object using the file, you should click on the "Upload" tab, load the desired file, add a title to the annotation and click the "OK" button.
 Annotation by uploading a file
- For Text Annotations the title and the text of the annotation have to be filled in and then the "OK" must be clicked.
- Deleting an annotation: The delete annotation procedure is simply performed by selecting the annotation you want to delete and click on the "delete" button located at the top panel.
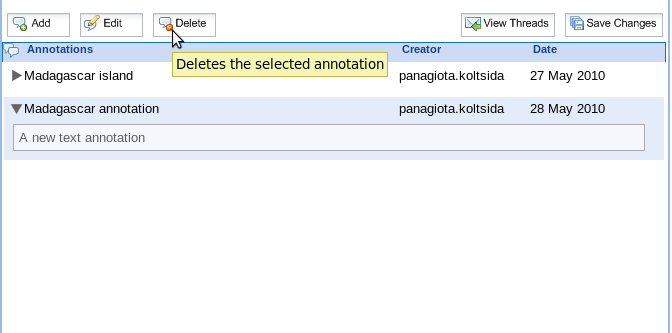 Deleting an Annotation
 - Editing an annotation: In order to edit an annotation you have to selected and click the "edit" button located at the top panel. After performing any changes in the annotation they are applied by clicking the "OK" button.
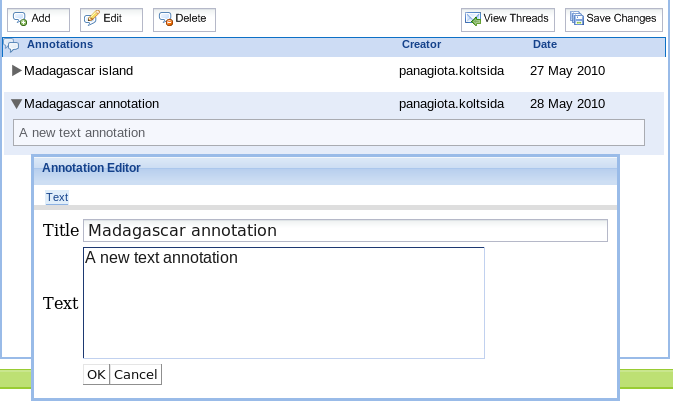 Editing an Annotation
 - Committing Changes: All the changes applied by the previous functions are temporarily kept in the session. In order to persist these changes the "Save Changes" button must be clicked.
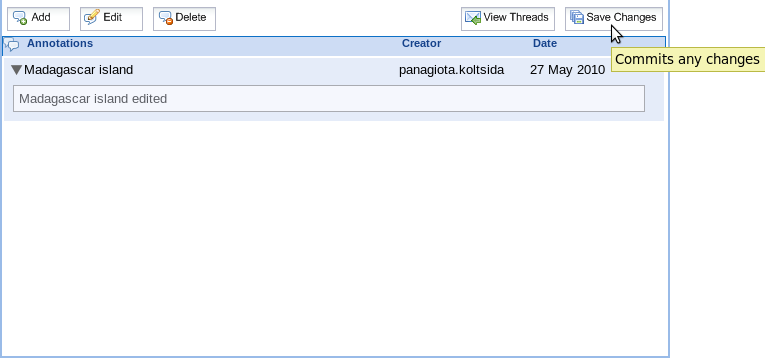 Saving Changes
- Adding an annotation: In order to create an annotation you can either create a new Thread by clicking on the "New Thread" button, which will create a new Annotation as the first of the thread, or you can enter an existing thread by clicking on the "Enter thread" button (entering a thread can also be done by double clicking on the thread) and then click on the "Add" button in order to create a new annotation. Then there are two choices create a "Text Annotation" or create an "Association" using an object from the basket or by uploading a file from the local disk.


Send a workspace area item to another user
This scenario describes the required steps a user has to do in order to send an item from his workspace area to another user workspace area.
- Follow the "Login_to_a_portal_instance_and_select_a_VRE" instructions in order to login to a VRE
- All the available portlets for this VRE are now loaded. Click on the "Workspace" tab to view the workspace portlet.
- Select the item you wish to send (can be a workspace, a basket or a single item). Right click on the item to send, from the context menu select the "send to" option.
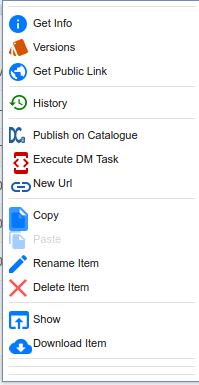 Send to context menu
 - A popup window is open. Select the list of users you wish to send the item. Press the "send" button to complete the operation.
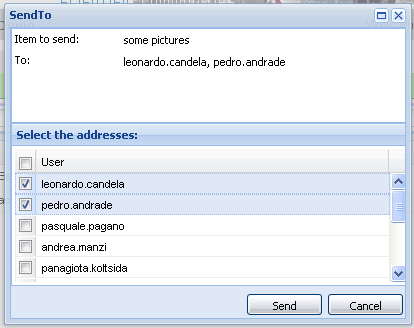 Send window
 - The addresses users will be notified about item reception.
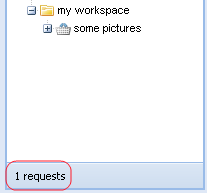 Received item notification
 - Clicking on the message a receive popup window is open.
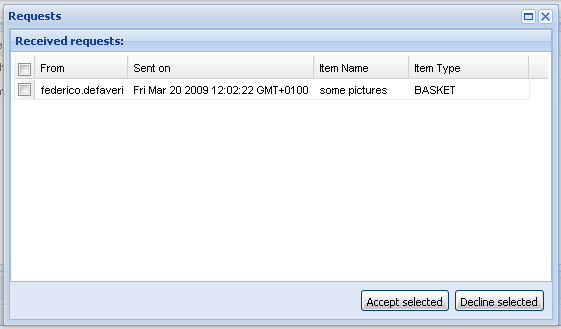 Receive popup
 - You can either accept or decline the an item which was sent to you.


